Showing posts with label Renovations. Show all posts

Tuesday, April 15, 2014

Life Lately

Here's L, dodging his way through the play structure.  L has really been a joy to go places with, he is playing so nicely with there kids, I have almost healed from all the scars of the constant hitting and being "that kids mom".  It's as if he is finally cognitively able to understand the discipline, and he is starting to really like other kids- there was a time he really just liked adults.  He started soccer last week which was AWESOME!  He adored his coach.

Now you may be wondering why D and I look exhausted in the pic below- well keep scrolling and you will see a floor!  Over two late nights D and I (mostly D) tiled and grouted a new kitchen floor.  As with any DIY project, there were some hiccups (like some of the tiles purchased had been returned with dried thin set on them, aka ruining them).  But its done, now we move on to the stair nose and more finishing touches.  I do want a carpet in the kitchen, the tile while beautiful and nice solid, will mean that anything dropped will shatter.  I'm a bit anxious about that.  If money hadn't been any issue, we would have gone with wood.  Hardwood wins every time for me (except in bathrooms).


Tuesday, April 8, 2014

Grout!

We finally got around to grouting our kitchen backsplash!  We went with the subways tiles from Lowe's (22 cents a tile), and the grout they sell in "Silver".  The grout is exactly the color we were hoping for.  It could have been a disaster since we decide to go purchase the grout with both kids….and the dog!  And of course as we enter the tile aisle, they shut it down to pull some heavy things off the shelves.  So yeah, waiting with two young kids and a dog isn't fun.  The kids were great, we survived, but once in the aisle our dog puked!  We immediately cleaned it up- no thanks to the lows employee!  Worst attitude by an employee ever- she was heavily sighing as we asked for some paper towels and stating we were sorry and would immediately clean it up.  She said she couldn't get paper towels, she was a bit busy.  D ran to the bathroom and grabbed some.  But yeah, so we just grabbed a gray grout and left ASAP- it was a good choice.

I'm not sure if we will seal the grout- anyone have thoughts?  It will change the gray to be darker, which could be ok.  If it will save the grout from stains and help it hold up I am open to it.  D and I have come a long way with our DIY skills- practice makes perfect, so all the previous tile jobs set us up to do this one pretty quick.  Now I'm longing to do our kitchen floor- oh and both bathrooms.


Wednesday, April 2, 2014

I love what my kitchen can become

I somehow forgot that renovations are hard, stressful, time consuming, and expensive.  We had huge success with removing the badly built in giant microwave and cabinet that we decided to do a huge remodel to the kitchen.  We are house poor so it had to be within he budget, which meant no ikea kitchen cabinets (yes they would have only cost about $4000, which is nothing when you think of a full remodel, but that was not even close to what we could manage).  So we decided to reuse the ones we had, paint them, reconfigure, and purchase a couple new ones to match (as closely as possible).  

How about some crappy iPhone pictures to start the story.


See what happened there?  We beautifully removed the microwave cabinet, painted the wall.  It took a couple hours at most, we even had a play date in the middle of completing it.  Basically this didn't disrupt our lives at all and we got cocky! Oh- we can TOTALLY redo the whole kitchen because they went smoothly…..HA!


So then we went on.  There are not many pictures of the demo.  It was more complicated, messier, and longer then we anticipated.  But all the cabinets were moved, all the backsplash and counters, sick, etc. The floor remained, but will be replaced eventually (boy the floor looks hideous now!).


Well look at that, not too bad right?  Far from complete, but we were happy to have some sort of working kitchen again.  As you can see all the cabinets on the left were from the original kitchen, reused and reconfigured.  The ones on the right were purchased from lows, unfinished.  They are not a perfect match, but due to time and money constraints we went with it and hoped the painting would make it work- I feel like it did.  That cardboard on the floor?  The cabinets used to come out there- yes we doubled the size of our kitchen with the changes.  The counters are maple butcher block from lumbar liquidators.  They were int he budget, in the design esthetic, and once we added the tung oil (I will make a post about this because it was a big decision), they looks beautiful.

If we had a legit budget, cabinets would have been ikea (the quality is awesome, they have the look I like), the counters probably a combination of butcher block and quartz (on the left side because of the sink).  The ceiling would be leveled out, the bay window replaced with something more insulated, the wall opened to the dinning room.  See?  Lots of things did not happen, but thats ok.  So far we are looking at under $2000 for the kitchen (sink, counters, new cabinets, paint, subway tile, new range hood).  Not too shabby.  I have a lot of pride in this update since it's been all D and I doing the work, coming up with budget friendly unique solutions. 


And this is where we are now.  A lot of trim and finishes touches left to do, some paint touch ups, grouting, maybe more tiling.  But loving it.  


Thursday, April 26, 2012

Rental Rescue: Mini House Tour

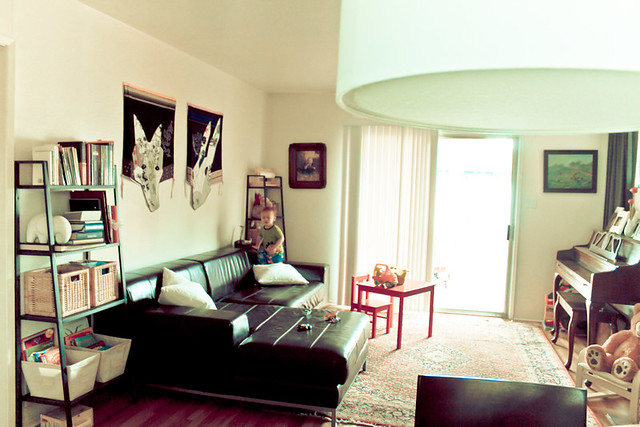
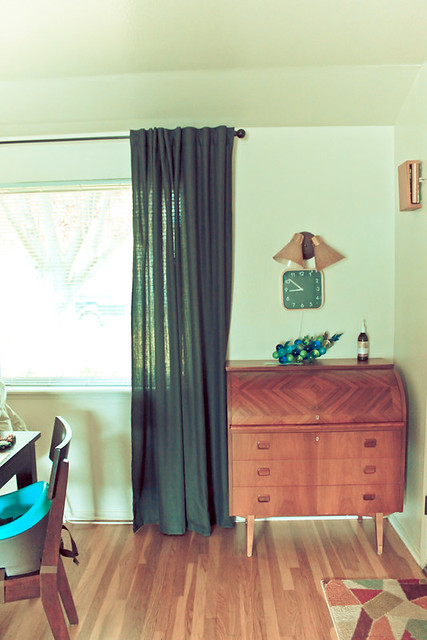
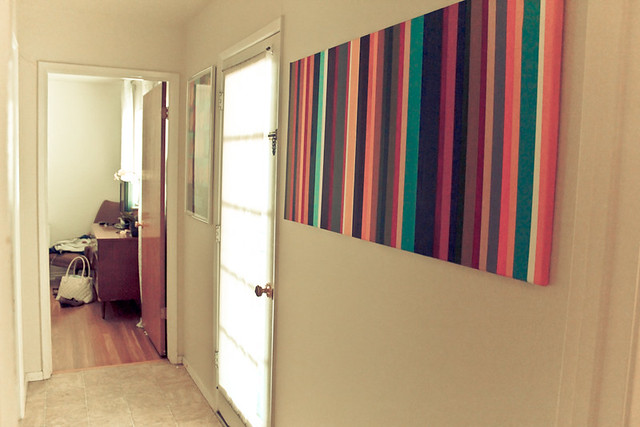
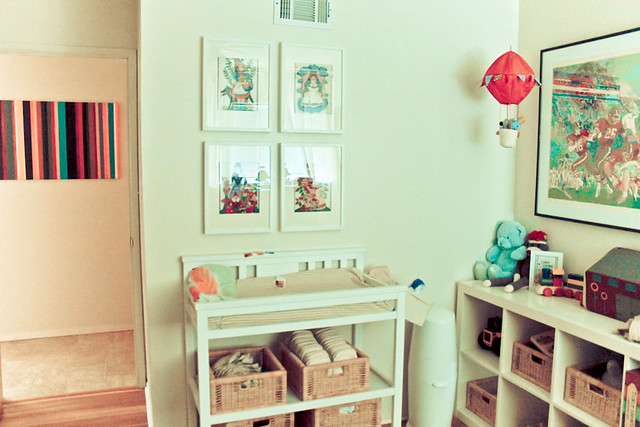
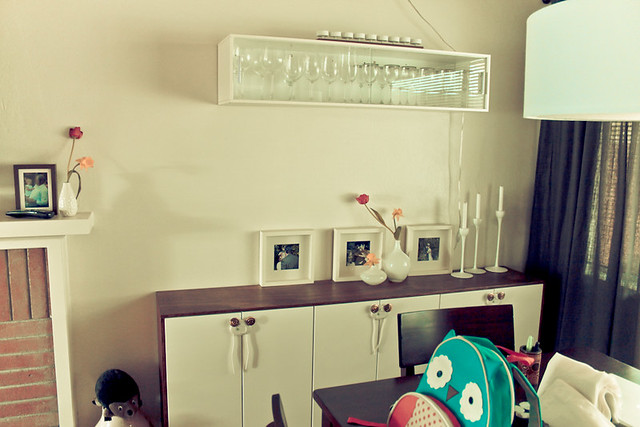
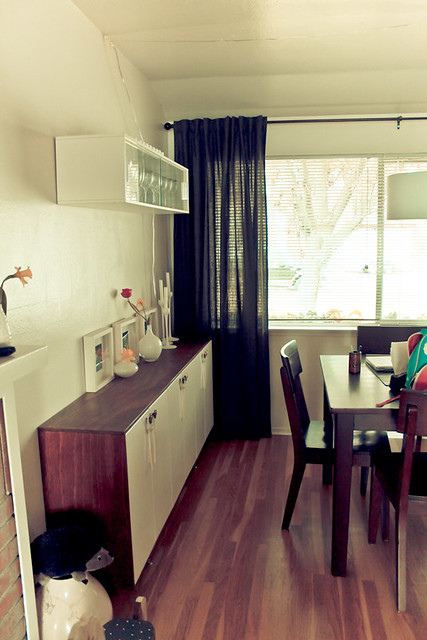
We have done quite a bit to our little rental house- and the reality is it will never be 100% what we love, but it's getting more and more comfortable.  Here are a few shots of our home- being used and lived in- having a toddler means never really having a tour quality looking home.


Thursday, February 23, 2012

Rental: Kitchen Rescue

Yep- the kitchen is still being rescued.  Actually a lot of the house is being rescued- very slowly though.  Having a toddler, a husband that works out of town/long days (like he leaves at 4am and comes home after 10pm), and our owned home to ready for renters means we are slowly- oh so slowly- getting it together here.

But the kitchen is getting less golden/yellow/wood like.  It has a ways to go but I am giddy about the small rental appropriate changes we have been able to make.  If you look at the previous post about the kitchen you will notice the upper cabinet has doors- adding to the monochromatic butcher block/base cabinet mess.

So we can't paint the cabinets (well we could but it's not worth the headache or the possible loss of rental deposit) but something needed to change.  We decided to remove the doors and have more of an open shelving look.

But the cabinets are wood all around so even though dishes would be in front and distract a bit- we wanted to make more of a change.  I toyed with painting the inside- but again hassle and possible landlord issues.  Then I remembered something from pinterest- starching fabric to walls/backs of cabinets etc.  A perfect temporary fix.

I found some retro black and white fabric in town and followed this simple tutorial.

Here is the cabinet with the fabric pinned up just to see how it would look...


Here's the finished product...


Monday, February 13, 2012

Renting versus Owning: Kitchen Rescue!

It's such a difference renting after owning- D and I notice all these little projects to spruce up the place- but is it worth the time and money?  So far we have made small changes- replacing some window coverings, changing the shower heads, running a water line to our fridge (the landlords fridge is safe in the garage), having a plumber had another gas connector so we can use our dryer (fortunately the water heater was right there so it was a simple job).  I have to say I don't think I will be painting any rooms- I can live with the white and I am all painted out with the touch ups to our old home.  We are finalizing a project that turned out amazing!

Our kitchen, which is exactly like my grandmothers kitchen- same green tile, same wood cabinets, and brassy pulls- had a funky open space- not suitable for a table, but strangely placed and needing something.  To us it just made sense at get a cabinet or island to add more space- we are downsizing after all and boy do we need more space.

So not only was this kitchen exactly like my grandmothers- it was also 90% the same as our original kitchen in our last home- the one we gutted and renovated (I really miss that kitchen!).  We tossed most everything after the renovation but randomly I kept two wall cabinets- why, I am not really such.  I had some idea about using them in the garage, but never did and they just hung out until the move.  When we were packing up I noticed them and wondered if I could incorporate them in the new place- after all they looked the same as our rental kitchen (gotta love that 1950's consistency).  I did some measurements and realized they would fit PERFECTLY in that strange open space.  All I needed was a countertop (ikea butcher block of course) and legs- oh and a way to secure it without damaging the house- it is a rental after all.

So off to ikea for the butcher block- that was the perfect size and required to no cutting.  We also picked up some 4" capita legs and an adjustable leg.  In a matter of hours- we created a usable kitchen countertop bar and added a lot of storage.

So here she is- our project that rescued the kitchen- still to add are the pulls and stools (I found the most perfect vintage stools for $20 on craigslist- the seller has yet to get back to me though), and obviously some styling to break up all that golden wood tone.

I had initially thought about white toe kicks, but rather like the exposed capita legs- plus it is much less work this way!  We did add a few screws into the original kitchen cabinet to secure the countertop and make the cabinet unable to move.  But these can be puttied up when it comes time to move- and it wasn't such a no no since the whole kitchen is littered with random screw/nail holes.  We do need to finish the backing because one of the cabinets was not fully covered in poly and has a hole in it...but I adore how this turned out.


Monday, October 3, 2011

Play dates

We hosted a mom group play date last week- L fell asleep so easily after they all left.  Here's a few pics taken by one of the moms...


And here is L- he has become quite the cautious little man when around a lot of new people.  

Monday, September 19, 2011

I'm really sore today...

From that crazy trail run 5k and all this:


Now the laundry room to do list looks like this:

To Do:

1. Install fan and lighting
2. Finish drywall- tapping/mudding/sanding
3. Finish dryer vent 
4. Paint  (well there will always be the few touch ups at the end)
5. Baseboards
6. Door
7. Cabinets (in progress!!!) and counter tops
8. Add shelving in closet area 
9. Add cabinet hardware
10. Build hamper dresser

Every time we cross things off the list we also seem to add more projects!

Thursday, September 15, 2011

House Tour

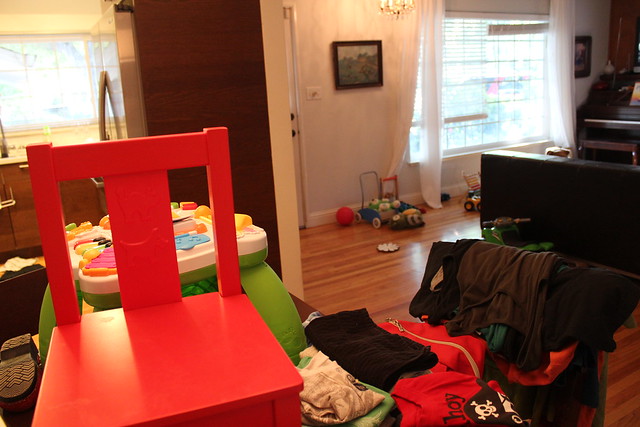
I like to have my home organized, clean, everything in it's place.  This never actually happens, and now that L is very mobile and creative I need to start letting go and just living in the chaos.  I snapped a few photos the other day- yes this is all in one day.